
Touch Probe Setup and Calibration
A good shop-grade touch probe is a very accurate and convenient way to set up work on a manual mill. It picks up an edge in one motion, in any direction, without the spinning and the tip-radius math of an edge finder, and paired with TouchDRO's probing functions it will indicate a workpiece, find the center of a bore, or pick up the centerline of a part to within a count or two of your scales.
In order to get that accuracy, you need to set the probe up with some care. TouchDRO stores numbers that describe the probe as it sits in the spindle: the effective tip diameter and the offsets are measurements of the assembly, not of the instrument in the box. A probe that is mounted loosely, sits off the spindle axis, or carries the diameter printed on the box instead of a measured one will repeat its own errors into every edge it finds.
This guide walks through the three jobs that turn a probe into a measuring instrument: mounting it so the measurements stay valid, centering its trigger point on the spindle axis, and calibrating the effective tip diameter with the calibration wizard and a ring gauge. Do them in that order, since each one depends on the one before it.
Before You Start
The probe needs to be wired to the adapter's probe input, as described in the "TDA-4xx DRO Adapter Manual", and it needs a probe profile with its trigger source set to the port it is wired to. Enter the nominal tip diameter from the box when you create the profile; calibration will replace it with a measured figure at the end of this guide.
Mounting the Probe
Unlike a spinning edge finder, a touch probe has no way to ignore the runout (TIR) of the spindle and the collet. In order to get repeatable accuracy, the probe needs to be mounted repeatably. On a manual milling machine this usually means using the same collet, clocking the spindle to the same position, and inserting the probe facing the same way.
Hold the probe in a collet or a dedicated holder rather than a drill chuck, since a chuck will not hold the same orientation twice, and keep the probe in the collet it was measured in. Taking the probe out with its holder as one piece, and storing the pair together, preserves the setup work below across tool changes; only the orientation in the spindle is left to get right each time.
Centering the Probe in the Spindle
A probe doesn't strictly need to be coaxial with the spindle, as long as its position in the spindle is repeatable: TouchDRO can store the offset in the probe's profile. Spending a bit of time carefully centering the probe still pays off, because it reduces the error you get from imperfect clocking. The closer the trigger point sits to the spindle axis, the less it matters if the probe goes back in turned slightly from where it was measured, and with a well-centered probe you leave the profile offsets at zero.
Adjust the probe until it is as close to concentric as you can get it: most probes have adjustment screws on the head for exactly this, and the probe's own manual will describe how to use them.
What has to be centered is the point at which the probe triggers, and an indicator won't find it. An indicator reads the surface of the stylus ball under a fraction of an ounce of pressure. The trigger point is where the stylus has deflected far enough to open the switch, which takes real force and doesn't necessarily sit where the ball's surface says it should. A probe that indicates beautifully can still trigger off-center.
The probe itself is the instrument that can measure this, since it is the only one that applies the right force:
- With the probe clocked the way you normally use it, indicate an edge on a workpiece and set the absolute origin there.
- Rotate the probe 180 degrees in the spindle.
- Indicate the same edge again.
- Read the difference. If it is zero, the trigger point is on the spindle axis.
Any difference is twice the error, because turning the probe around moves the trigger point across the axis rather than to it. Adjust the tip by the procedure in the probe's manual and run the check again. A few rounds of this is normal.
Calibrating the Tip Diameter
The nominal diameter marked on a 2D edge finder or a kinematic touch probe is a starting point. During probing, the forces acting on the stylus cause the trigger point to be offset from the true center of the stylus, and depending on the probe model the difference can range from negligible to tens of microns. TouchDRO measures the effective diameter based on the actual trigger point, which gives more accurate measurements.
Calibrate with the probe centered, as described above. The calibration process does not account for any misalignment of the probe, and if the probe is not centered, the calibration will yield inaccurate results.
What You Will Need
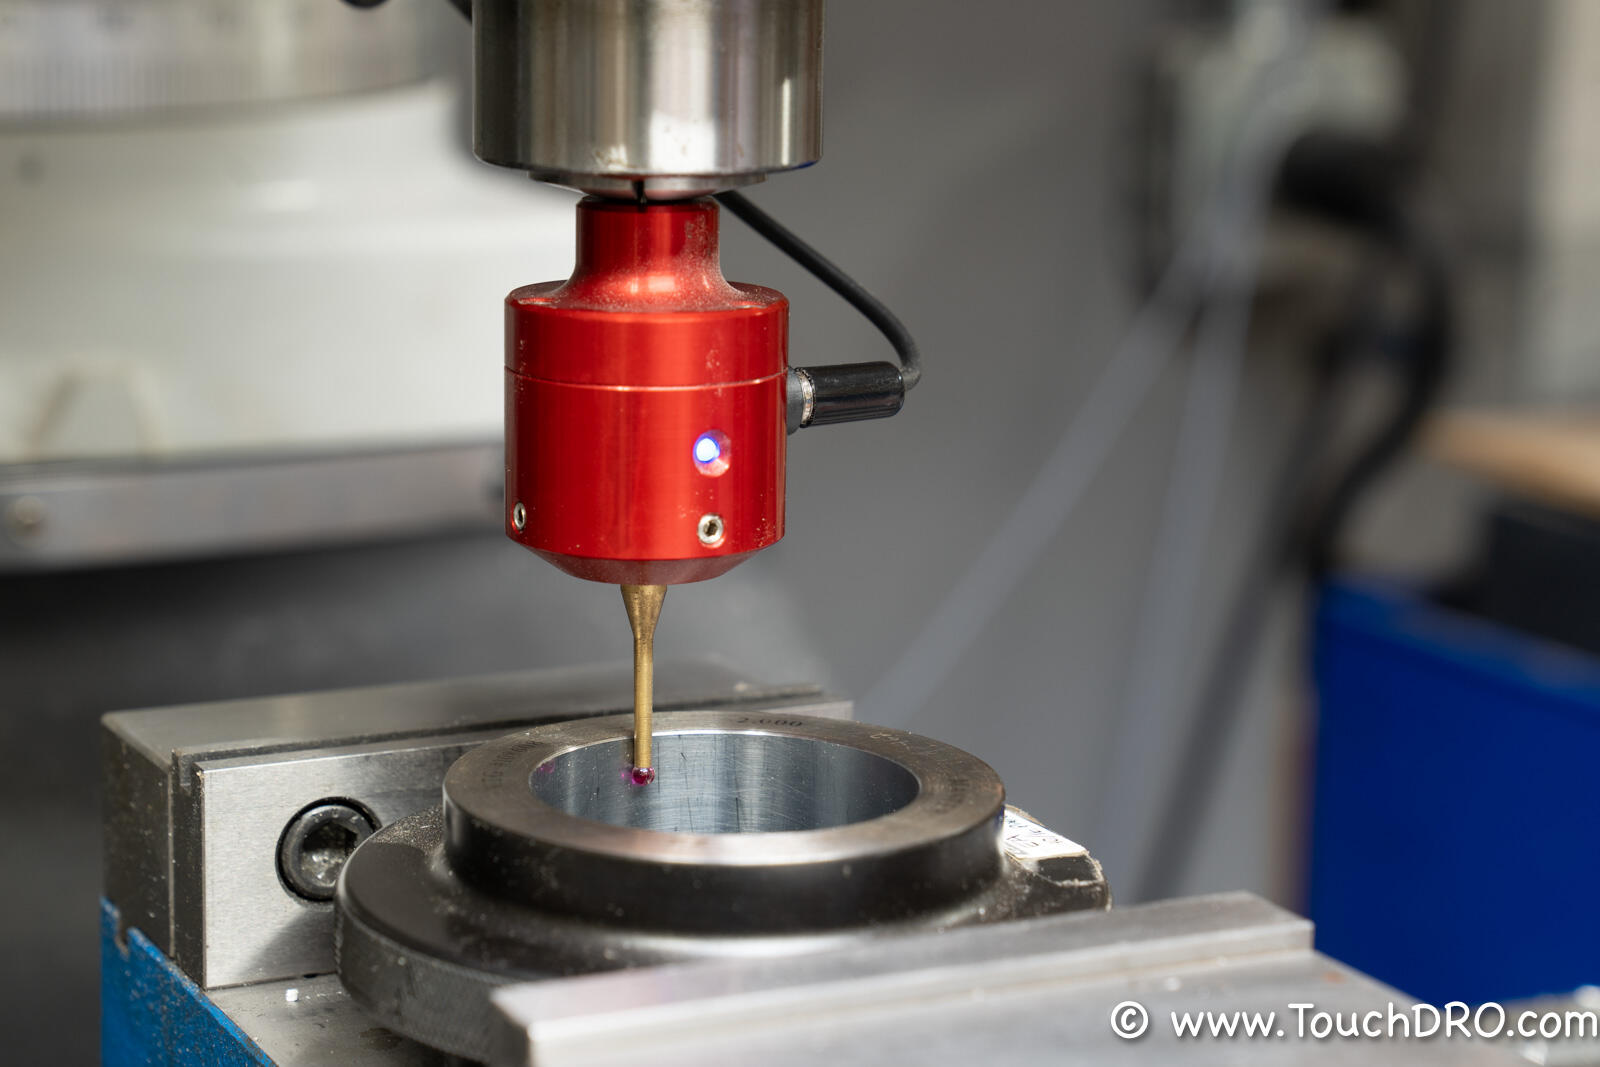
You will need a ring gauge, or any accurate bore of known diameter. The inner race of a precision ball bearing works and costs a lot less than a gauge. Keep it on the small side: something in the 1 to 2 inch range is the most convenient to work in.
Running the Wizard
Mount the gauge on the table and move the stylus roughly to the center of the bore. It doesn't have to be precise; within a few millimeters of the center is fine.
Keep the stylus at the same Z height throughout. Moving up or down between touches lets any tram error in the head feed straight into the result, and the wizard has no way to tell that apart from a tip that isn't round.
To start the wizard, open the probe's profile and press the calibration button beside the "Tip diameter" field, the one with the ruler icon. The wizard opens by asking for the gauge diameter.
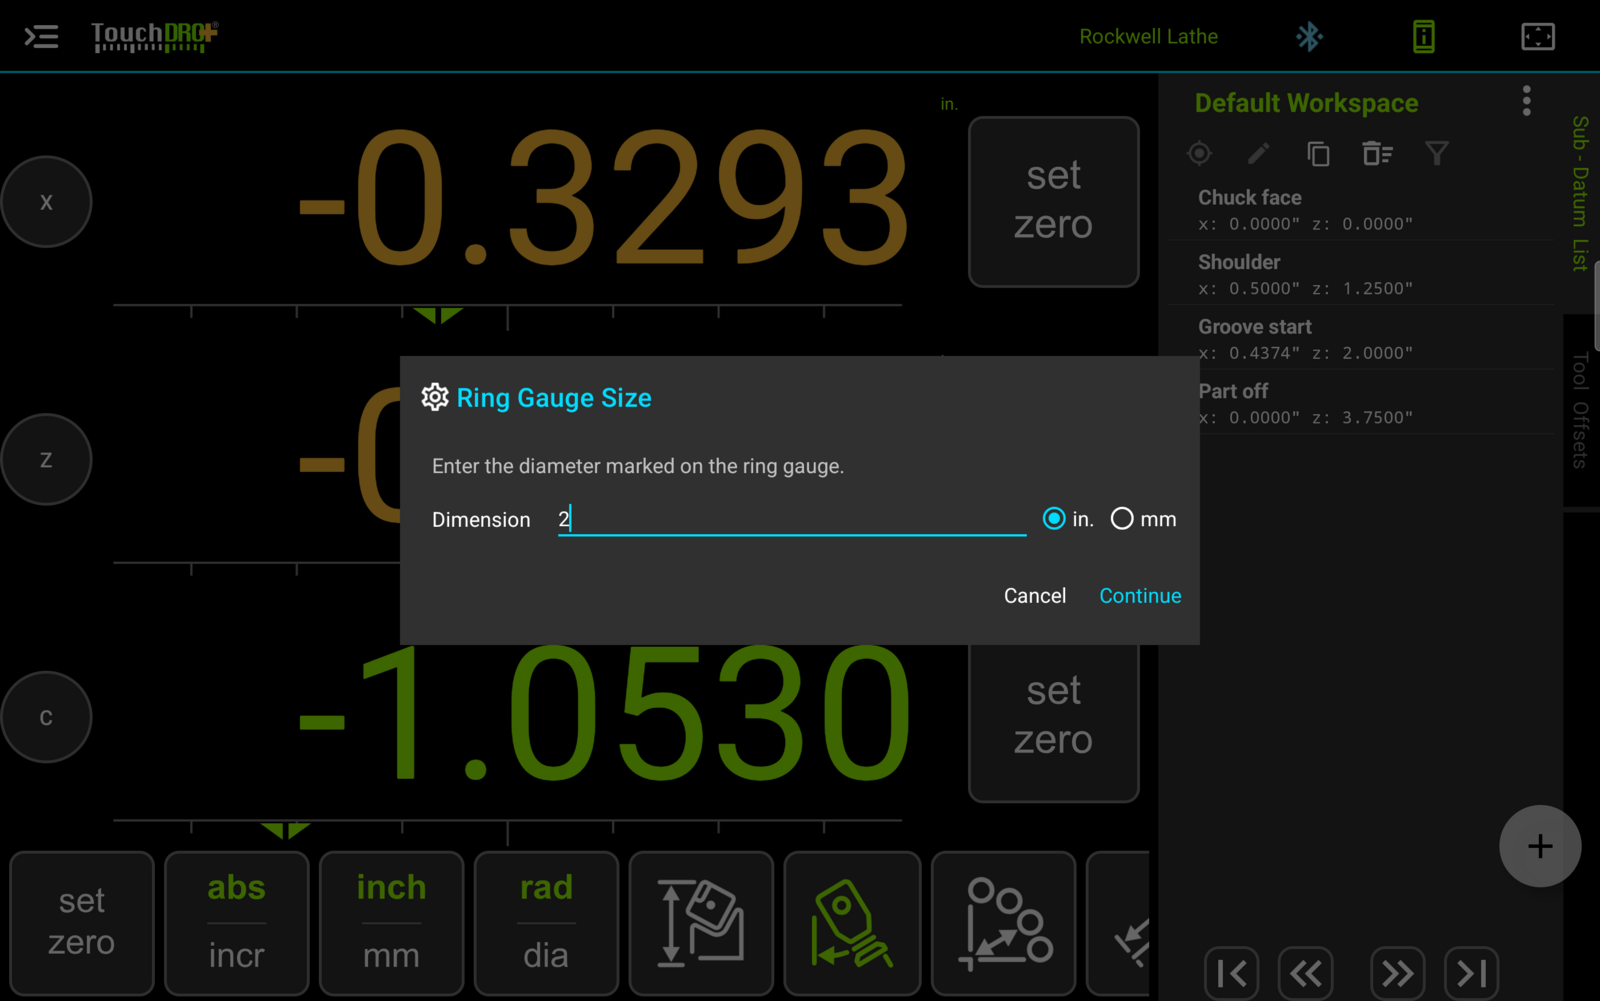
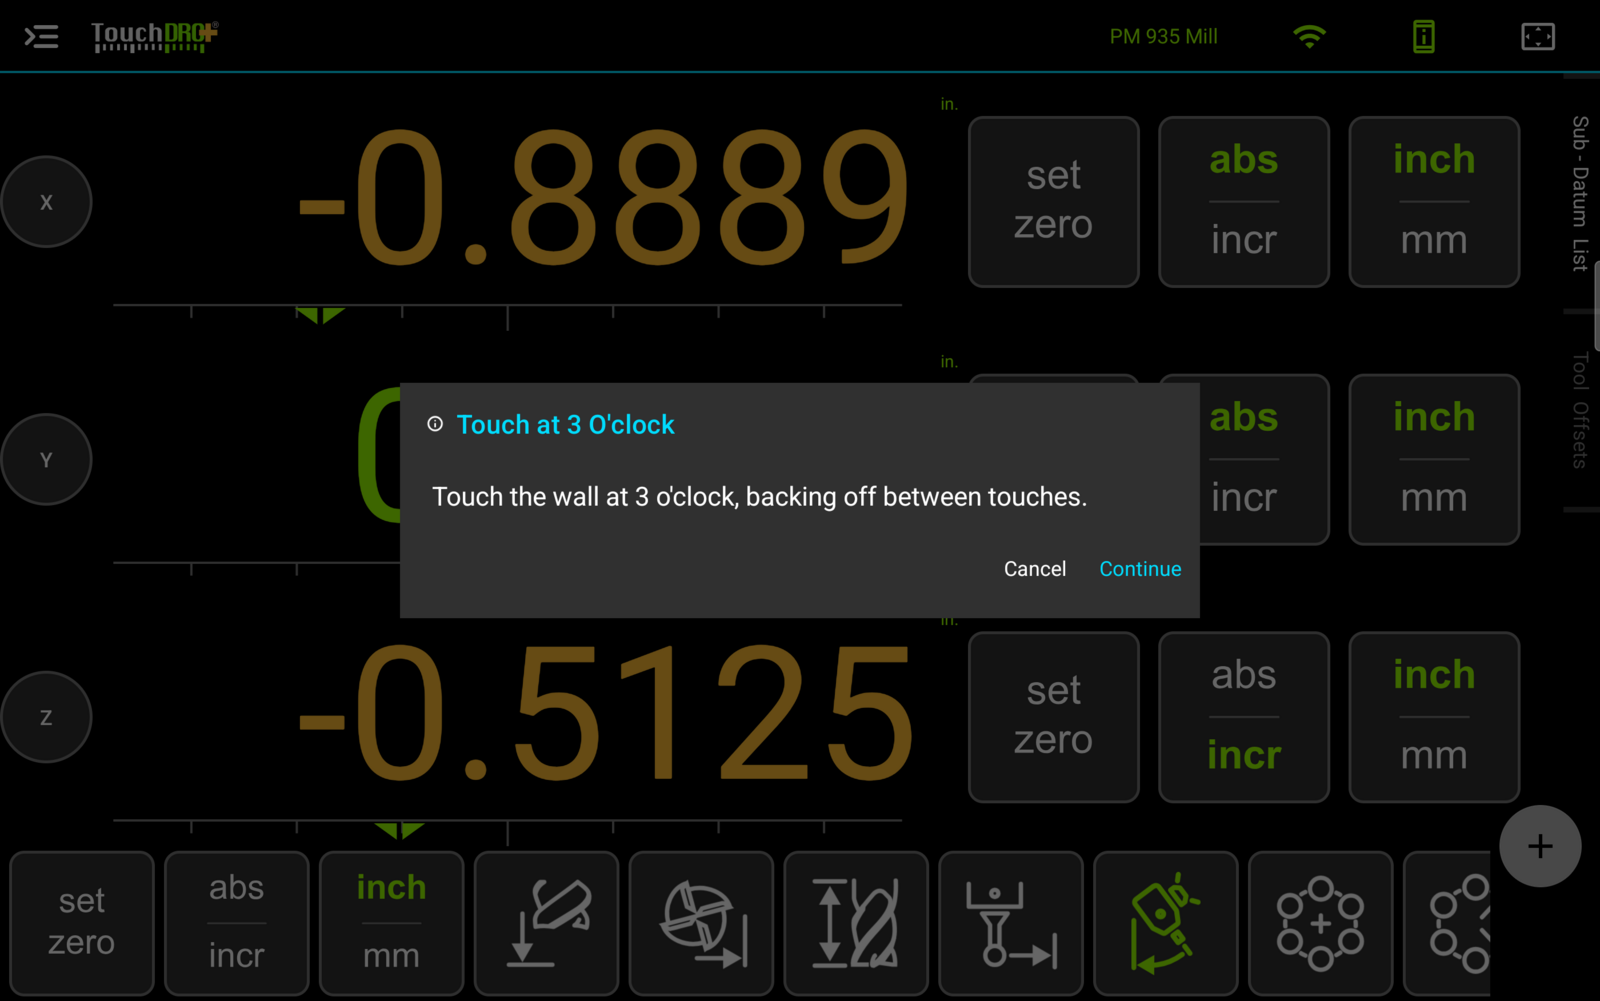
The wizard will ask you to touch the ring gauge several times at each of four clock positions, taken in opposed pairs: 9 o'clock, then 3, then 12, then 6. This does several things at once. Besides calculating the effective diameter, it also measures how repeatable the touches are and how many it took to get there.
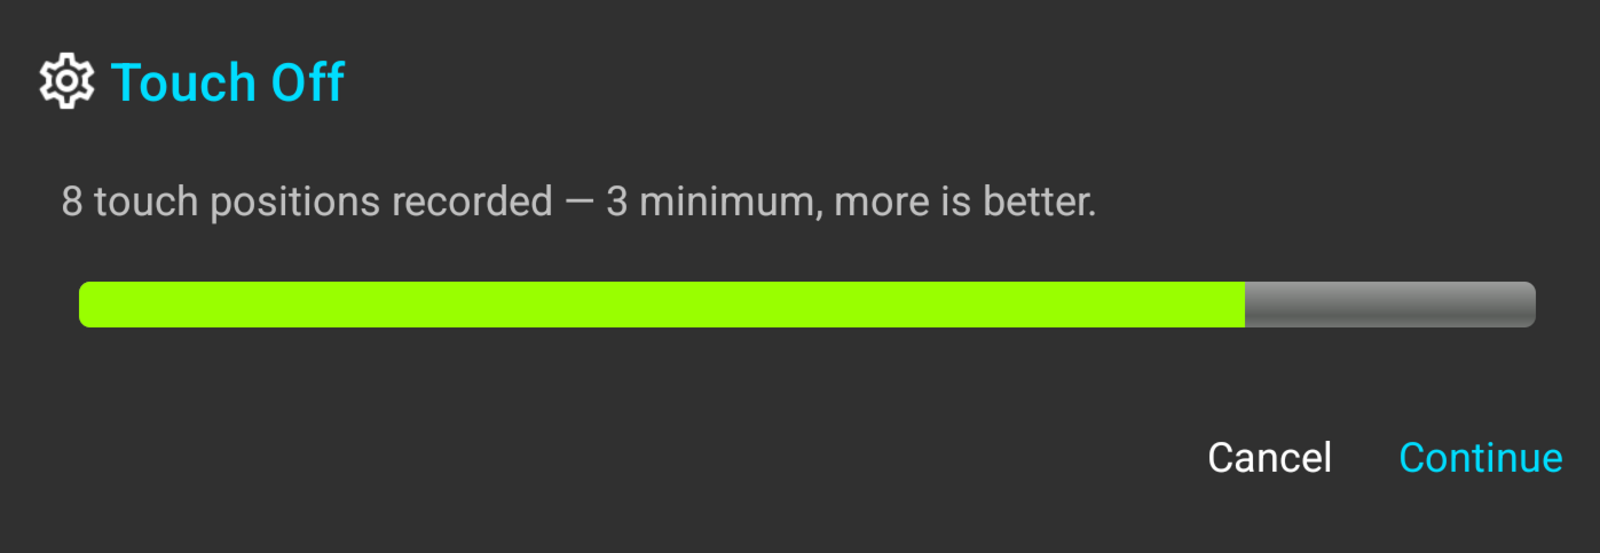
At each position, TouchDRO needs at least three touches to calculate the effective diameter, but doing more will give you a better result.
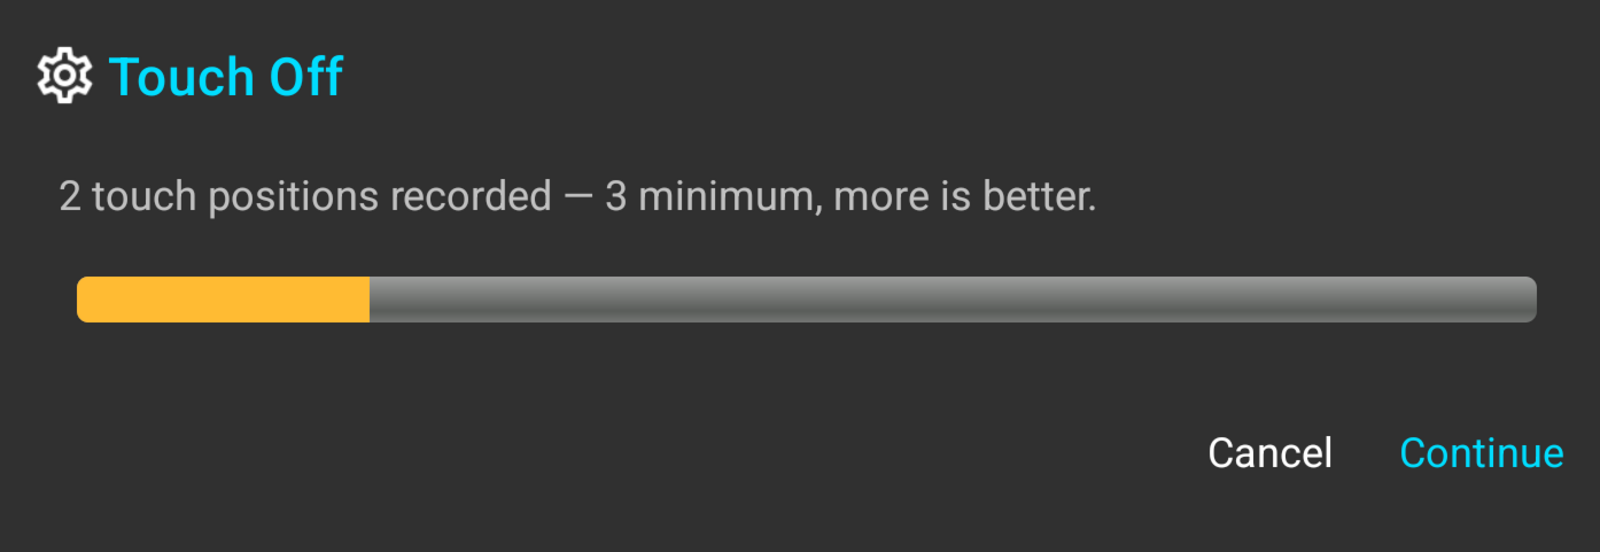
Once the third touch is in, the bar turns green and you can move on whenever you like. More touches make a better figure, since the extras are what turn a single reading into a repeatability number, but stopping anywhere in the green is fine. The bar reads full at ten touches; that is not a limit, and the wizard keeps recording any touches you take past it.
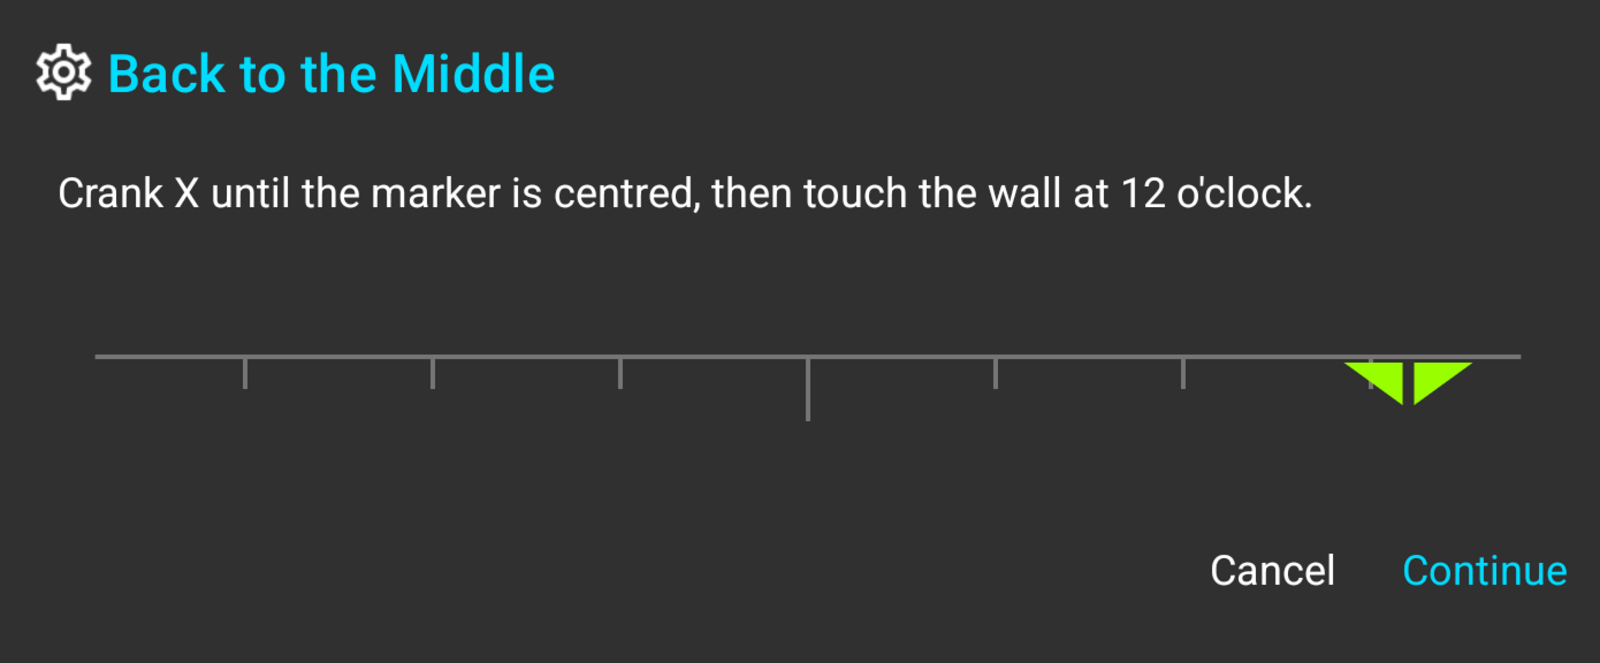
Between the pairs the wizard asks you to come back to the middle, showing a marker to crank against. After the 9 and 3 o'clock touches the bore's center in X is known exactly, and the stylus needs to be near it to reach the top and bottom of the bore cleanly without fouling the bore wall.
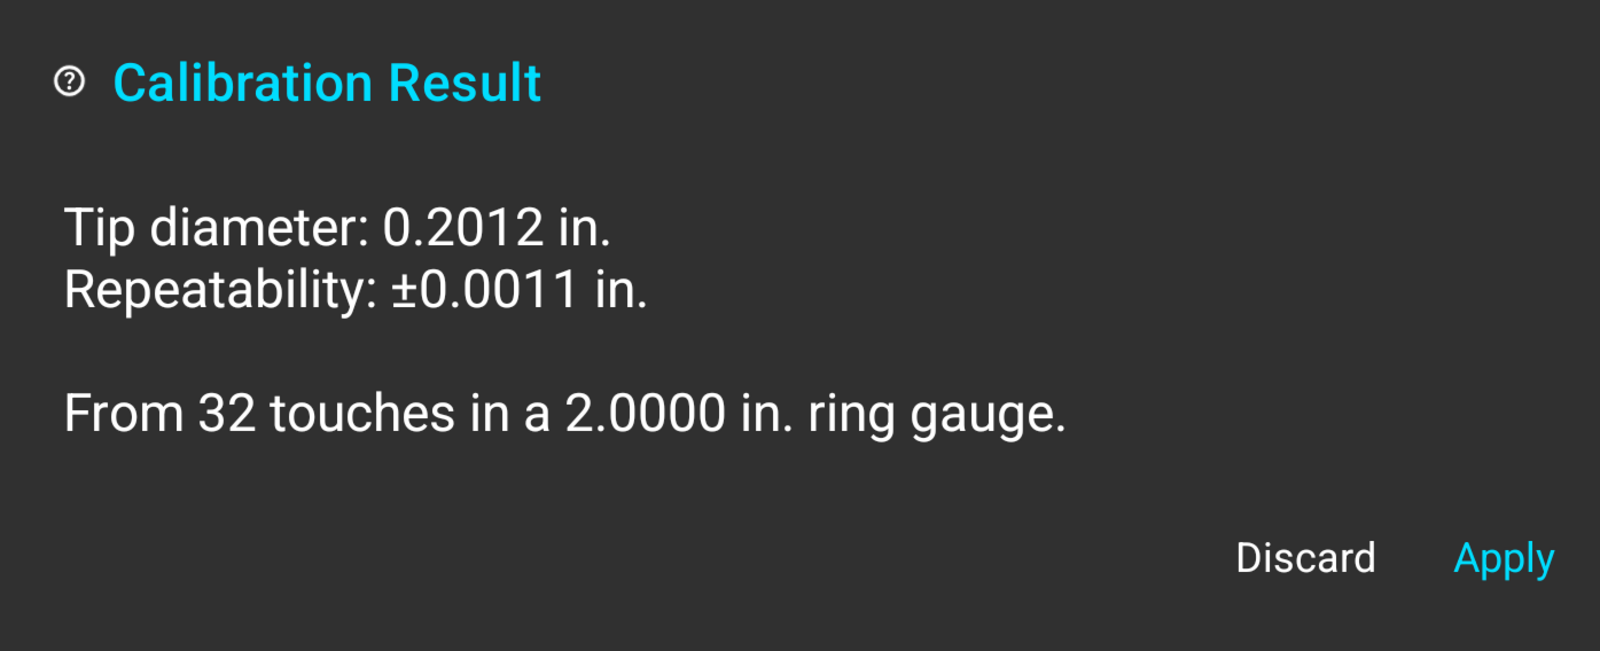
When all four positions are done, TouchDRO reports the effective tip diameter, how repeatable the touches were, how many it used, and the gauge size it worked from. "Apply" writes the diameter into the profile; "Discard" leaves the profile as it was.
The result can carry one more paragraph, giving the diameter measured across X and the diameter measured across Y separately. It appears when the two differ by more than the run's own scatter, or by more than 10 µm, whichever is larger, on a clean result and a warned one alike. See "Across X and Across Y" for what to make of it. The refusals described below never carry it, since there is no result to describe.
Calibration Failure Scenarios
TouchDRO checks the finished measurement before offering to save it, and there are four ways the check can come back other than clean. Three of them refuse the result, because the number can't be right. The fourth is a warning and only asks you to look again.
Cannot Fit a Circle
"Cannot Fit a Circle" means the four touches don't describe one. Points that fall in a line, or two touches taken at the same place, leave nothing for the arithmetic to work with. Take them again, one at each clock position.
Tip Has No Size
"Tip Has No Size" means the circle the touches describe came out no smaller than the ring gauge you entered, which should be physically impossible with a properly functioning probe. The usual causes are a gauge diameter typed in wrong, and probing around the outside of something instead of inside a bore.
Unlikely Tip Size
"Unlikely Tip Size" means the arithmetic worked but the answer isn't a stylus. This one almost always comes back to the ring gauge figure as well, most often a metric size typed into an imperial profile, or a decimal point in the wrong place.
Retry and Cancel
All three refusals offer "Retry" and "Cancel". Retry throws the four touches away and starts the capture over at the first clock position, keeping the gauge diameter you entered, so a run spoiled by one bad touch-off costs you the touches and nothing else. Cancel abandons the run and leaves the profile as it was.
The Diameter Mismatch Warning
The fourth outcome is a warning rather than a refusal. If the measured diameter is a plausible stylus size but lands more than a quarter of the entered diameter away from the diameter on the profile, TouchDRO says what it measured, says what the profile claims, and asks you to check the ring gauge. If the gauge figure is right, the measurement stands, and you can save it.
A quarter is a deliberately loose threshold. Pre-travel on a mechanical probe genuinely runs into hundreds of microns, so a measured diameter well away from the marked one is normal rather than alarming. The check is there to catch a wrong gauge number, not to tell you how accurate your probe is. It's also skipped entirely on a profile with no tip diameter entered, since there is nothing to compare against.
Applying the Result
When you apply the result, TouchDRO writes the measured effective diameter into the profile's tip diameter field, and it also keeps the run itself with the profile, with the date, the gauge size, and the measured diameter. A profile keeps one run, the most recent one applied to it, and calibrating again replaces it. The run is included in the export file for troubleshooting, so you can send it to TouchDRO support if you need help.
The Calibration Record
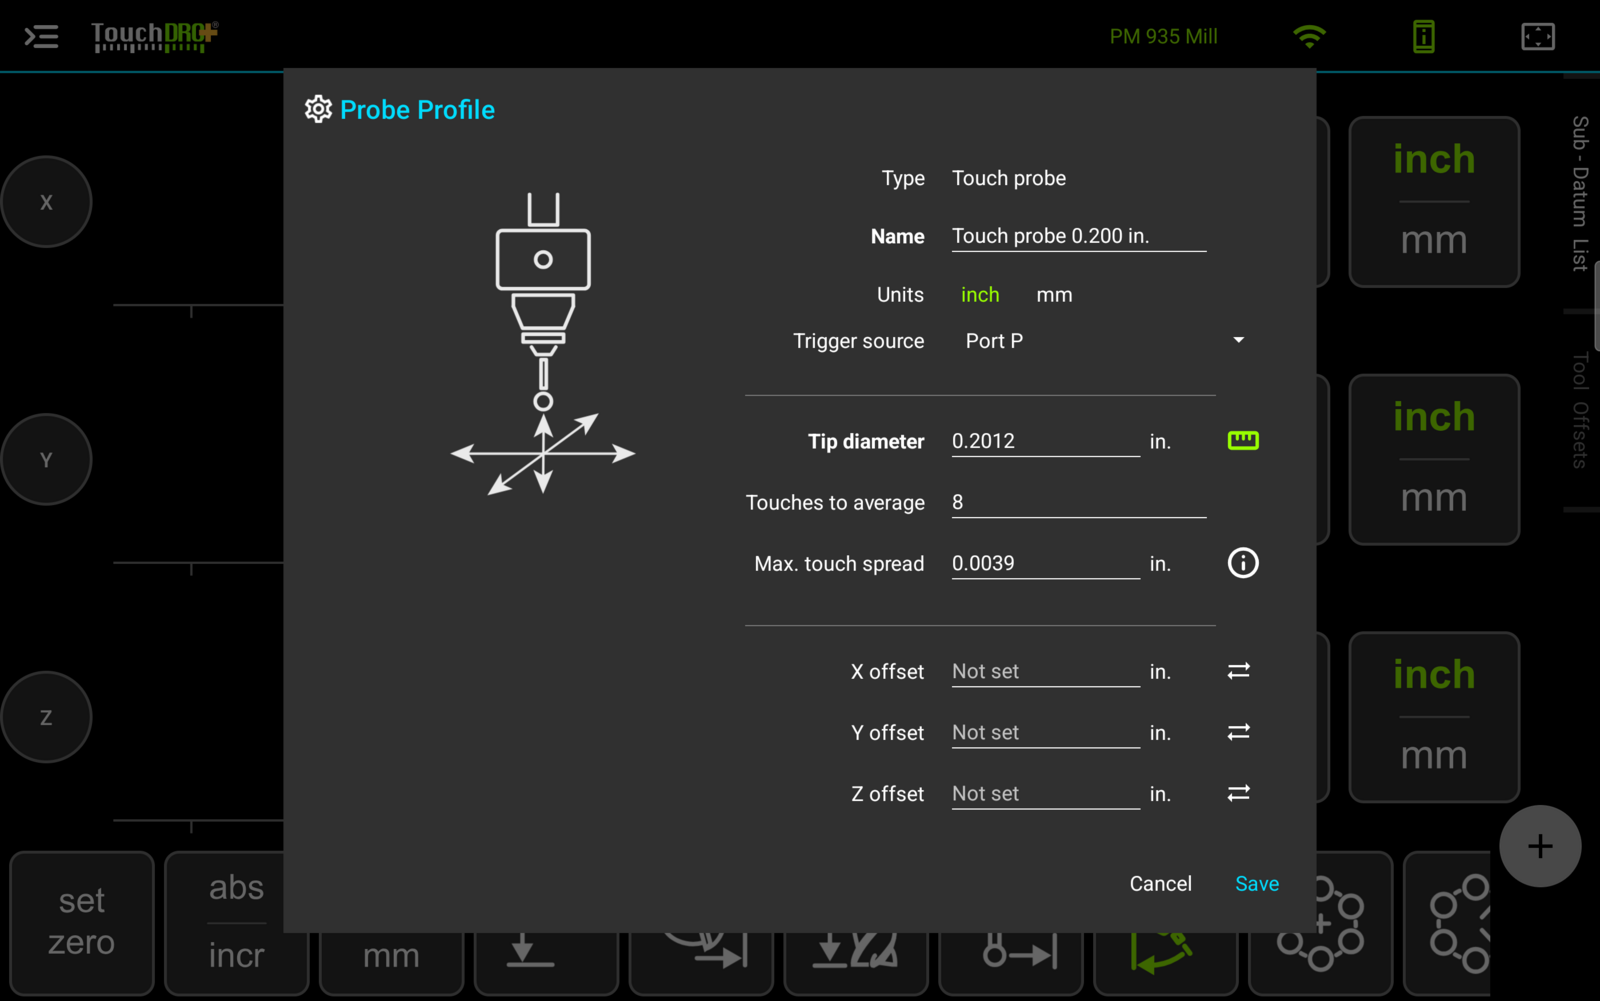
To open the stored run, press the information button beside "Max. touch spread" in the profile.
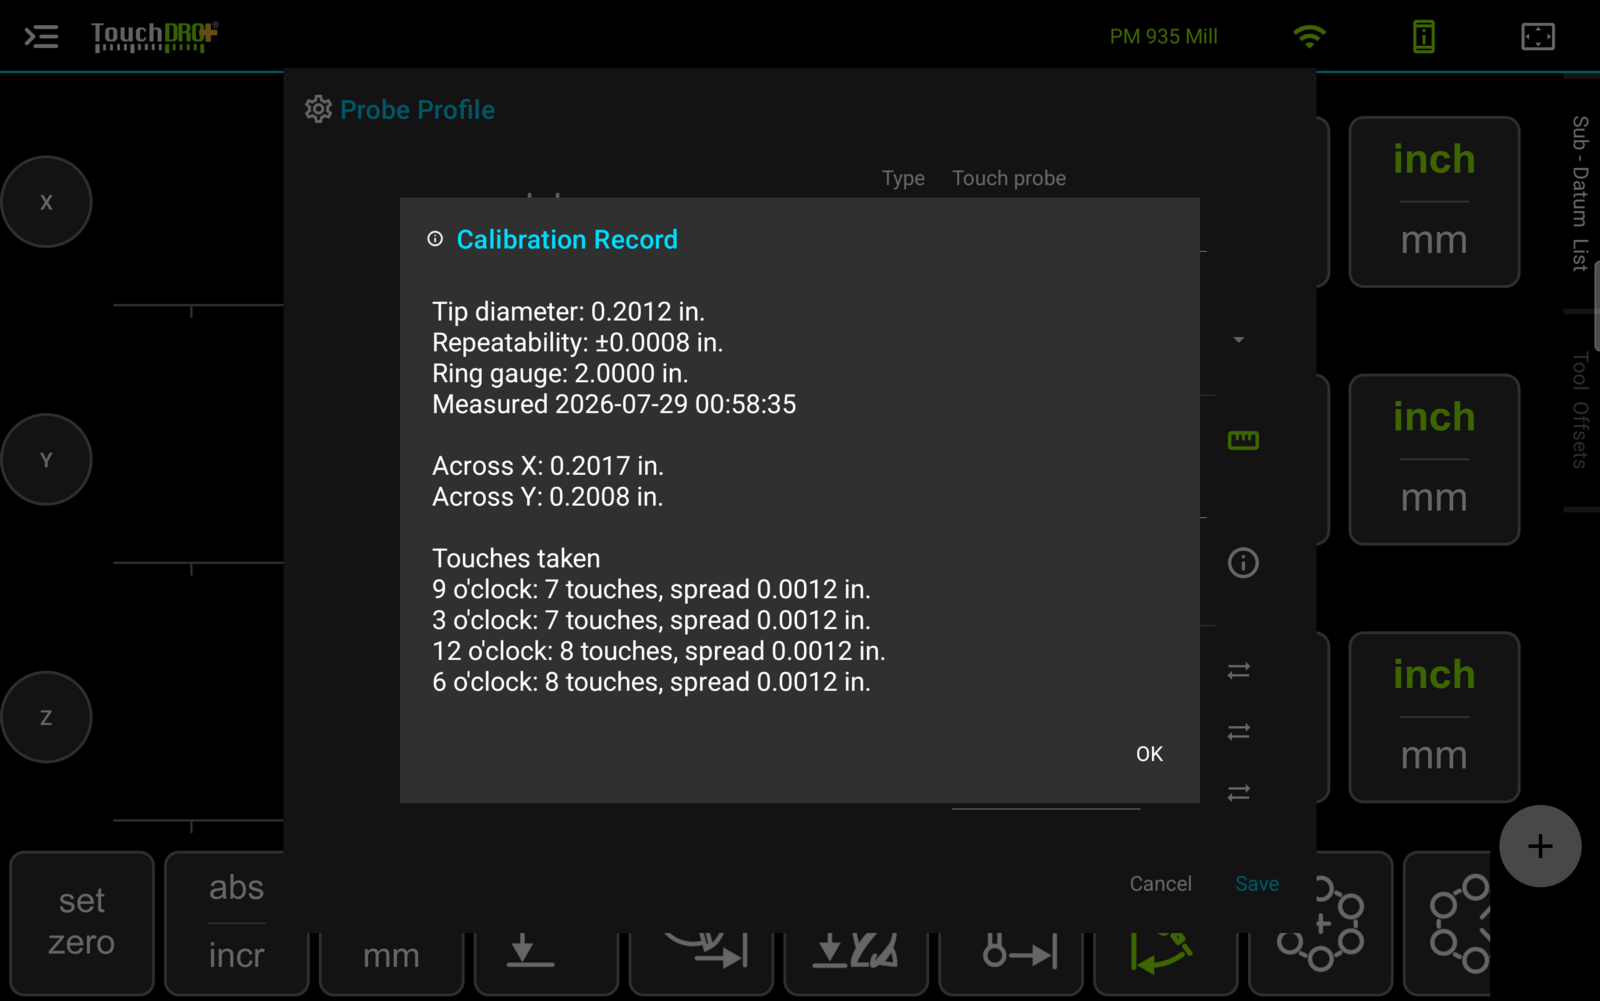
Alongside the figures from the result, the record holds two things you can't get anywhere else once the averaged diameter has been stored. "Across X" and "Across Y" are the effective diameters measured along each axis, and the per-position list gives the touch count and spread at each of the four clock positions.
Interpreting the Result
The run is telling you about two separate things, and they have different causes. One is whether the tip measures the same in every direction. The other is whether it measures the same thing twice.
Across X and Across Y
A mechanical touch probe carries its stylus on a three-point kinematic seat, commonly three rods resting in pairs of balls at 120 degrees to each other. How far the stylus deflects before the probe triggers depends on which way it is pushed, because the stylus doesn't pivot against those three points the same way in every direction. The four touches sample that variation, and the difference between "Across X" and "Across Y" is what it came to.
A small difference is in the nature of the instrument and not worth chasing. A large one is worth a look at the probe itself: a stylus that has worked loose, or grit in the seat, will exaggerate it.
This has nothing to do with runout. Nothing is spinning during calibration, so a probe that measures differently across X and Y is telling you about its seat, not about how it is clocked in the spindle.
Repeatability
The plus-or-minus figure is how closely repeated touches at the same place agreed. Two things make it large.
The first is technique. Approaching the wall too fast registers the touch late, and on a manual machine the approach speed is whatever your hands did, so uneven cranking turns up directly as scatter. Slow, even approaches are worth more here than any setting.
The second is the probe. If the stylus doesn't return to exactly the same rest position after each touch, it triggers in a slightly different place every time. A worn or dirty kinematic seat does this, and so does a stylus that isn't properly tight.
What Counts as Good
There is no perfect probe. Probes costing several thousand still show some jitter on a manual machine, because the repeatability they are sold on assumes a controlled approach speed that hand feed can't deliver. The number is a judgment call rather than a pass or a fail.
As a rule of thumb, the best probes repeat inside a single encoder count, and a good hobby or prosumer probe should manage about one count either way. Judge it against your own scales rather than against a figure quoted elsewhere: one count is a micron on a 1-micron scale and five microns on a 5-micron scale, so the same probe looks very different depending on what it is measured with.