
Workspaces and Coordinate Entry
Every job in TouchDRO lives in a workspace, so working with sub-datum memory has two halves: managing the workspaces themselves, and getting coordinates into them. This page covers both. The concepts behind workspaces are explained in the "Sub-Datums and Workspaces" guide.
Managing Workspaces
Workspaces are managed through the "Workspaces" dialog. To open it, tap the workspace name at the top of the sub-datum panel, or select "Workspaces" from the application menu drawer.
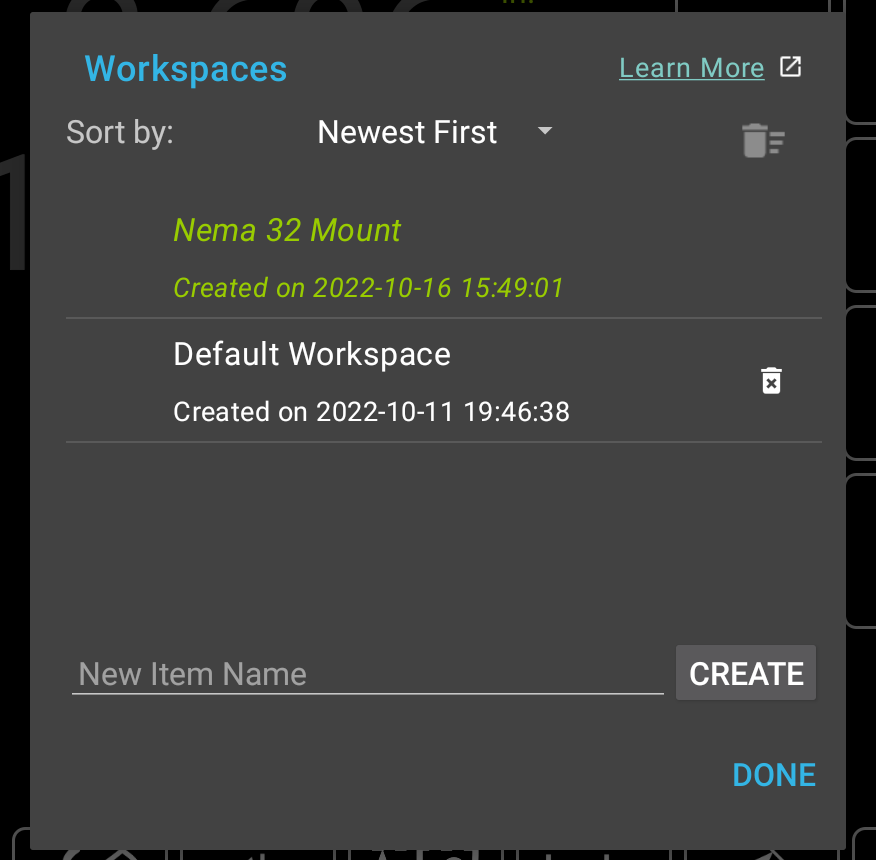
The list shows every workspace in the current machine profile along with its creation date, and the workspace that is currently loaded is shown in green. The "Sort by" selector at the top orders the list by "Newest First", "Oldest First", "Name A-Z", or "Name Z-A".
Creating a Workspace
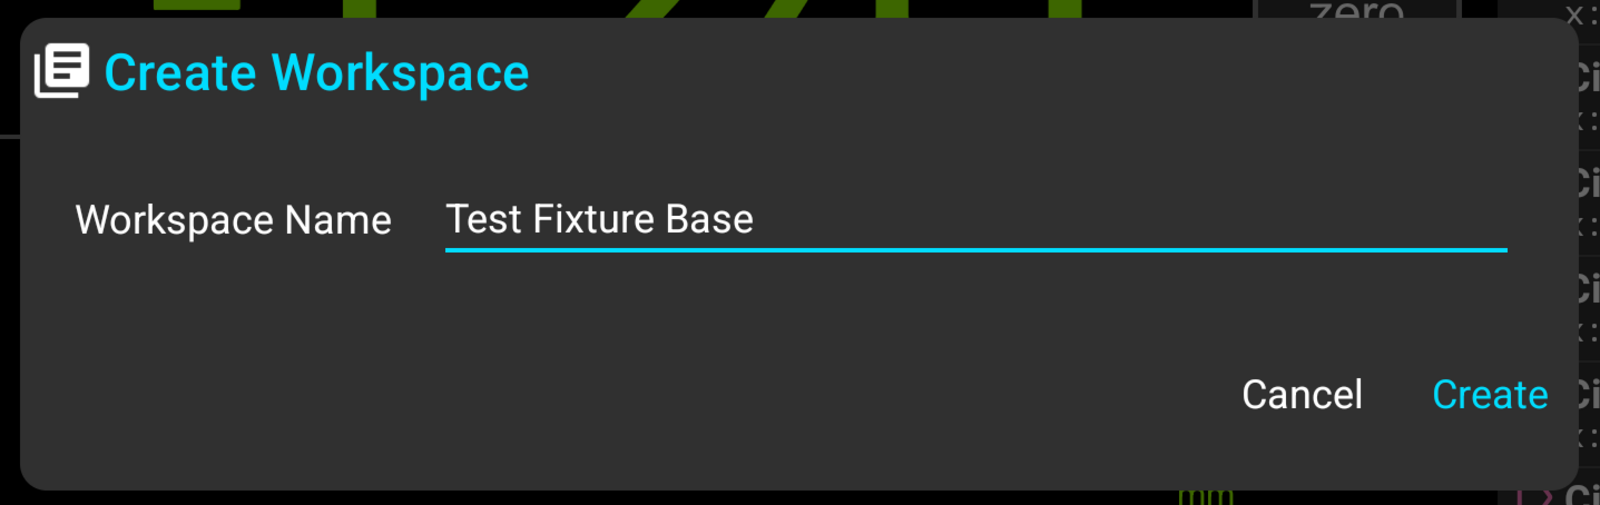
To create a workspace, press "Create New Workspace" in the lower-left corner of the dialog. This will bring up the "Create Workspace" dialog, where you enter the name and press "Create". The name can't be blank or repeat the name of an existing workspace. With the default "Newest First" sort order, the new workspace will appear at the top of the list.
Deleting Workspaces
There are two ways to delete workspaces:
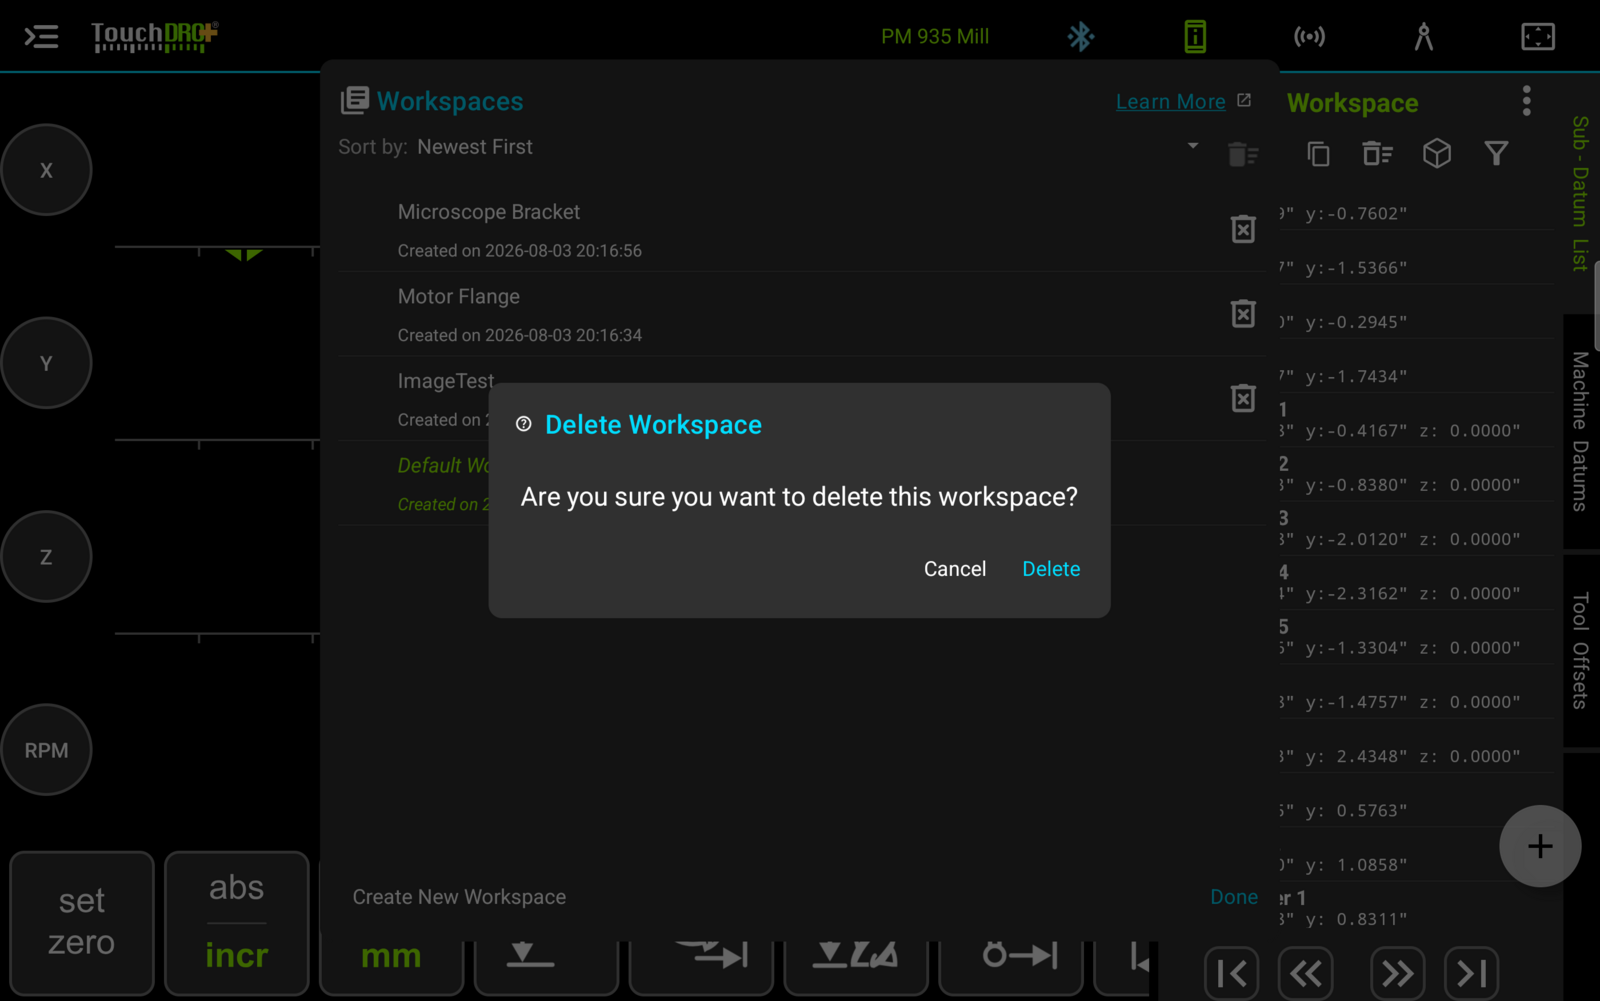
- To delete a single workspace, press the delete icon on its row. TouchDRO will ask for confirmation, and then delete the workspace together with everything it holds: coordinates, guide lines, origins, etc.
- To delete several workspaces at once, long-press one of the rows. This will switch the list into multi-select mode, where more items can be checked; the delete button at the top of the list removes everything that is checked, after a confirmation that names the count.
Loading a Workspace
To load a workspace, tap its row in the list. TouchDRO stores the current state with the outgoing workspace, including the absolute and incremental origins, guide lines, and per-axis units and modes, and then applies the stored state of the workspace being loaded. As a result, a workspace comes back exactly the way it was left.
Adding Coordinates Into Sub-Datum Memory
There are several different ways to add coordinates into sub-datum memory, ranging from simply moving to a certain position and adding it to the memory to various functions that generate sets of coordinates. Regardless of your chosen method, the first step should always be to indicate the workpiece and set the absolute origin for the workspace. With the absolute origin set, the coordinates in the sub-datum memory will be defined in terms of their distance from the origin.
Saving Current Coordinate
Saving current coordinates is the most basic way of creating new sub-datum. To do so, you simply move the cutter/spindle to the desired location and short-press the "Add Sub-Datum" button in the lower-right corner of the sub-datum panel.
The Add Sub-Datum Menu
The other entry paths start from the same button: a long press brings up the "Add Sub-Datum" menu, shown below, which gathers every way of creating coordinates in one place:
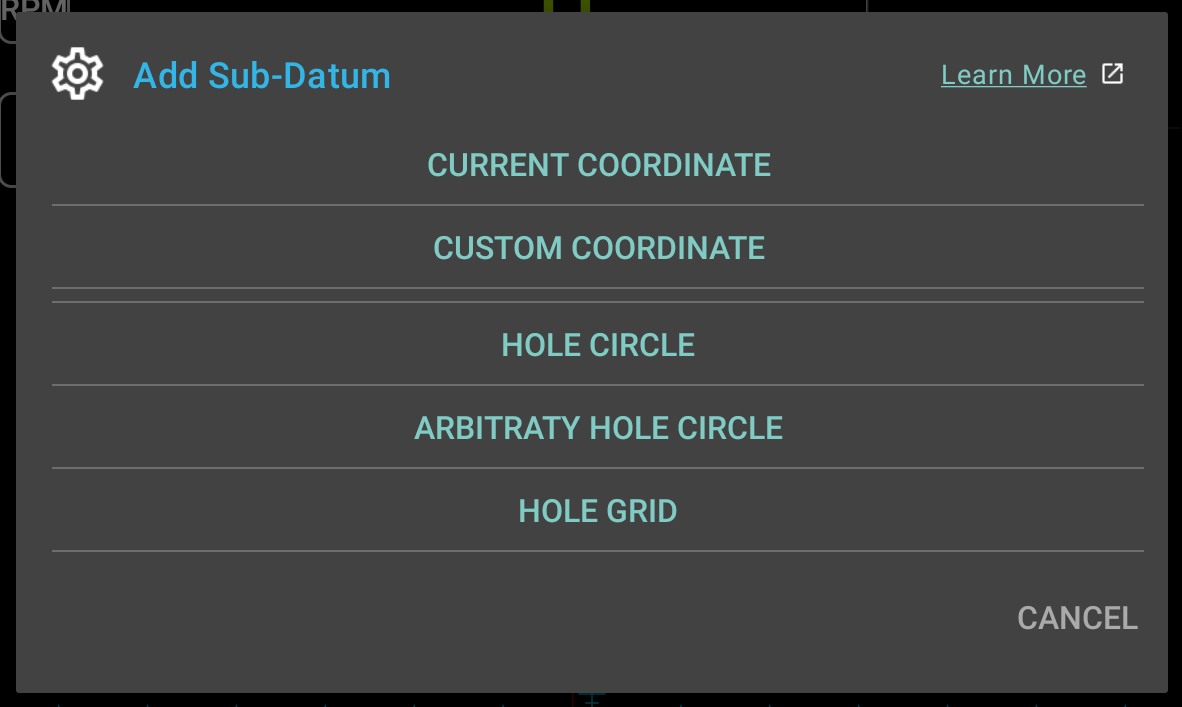
- "Current Coordinate" - saves the current position, same as a short press
- "Custom Coordinate" - brings up the "Add Custom Sub-Datum" dialog, described in the next section; a double tap on the "Add Sub-Datum" button is a shortcut to the same dialog
- "Arc/Radius" - brings up the "Radius/Arc Cutting" function dialog
- "Hole Circle" - brings up the "Hole Circle" function dialog
- "Arbitrary Hole Circle" - brings up the "Arbitrary Hole Circle" function dialog
- "Hole Grid" - brings up the "Hole Grid" function dialog
- "Equidistant Holes" - brings up the "Equidistant Hole Array" function dialog
Pre-Programming Coordinates
When working with more complex layouts, it's more advantageous to pre-program the coordinates upfront. Since the tablet running TouchDRO can be easily removed from the machine, you can take it to the reference material and generally do the programming in a more convenient location. As a result, this approach can be less error prone and more efficient.
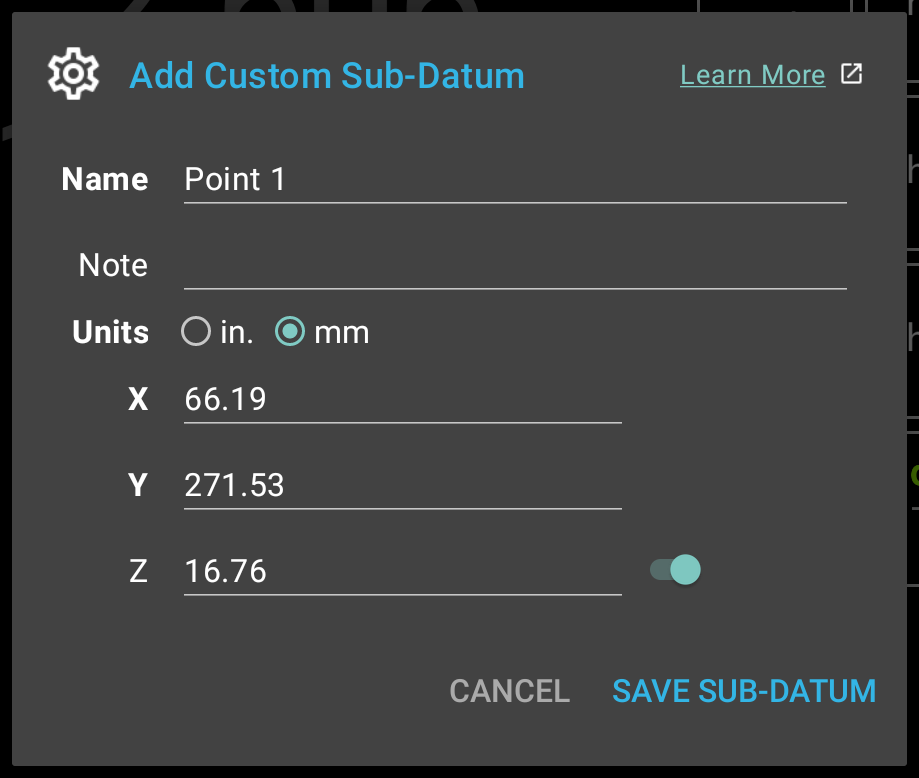
To pre-program a coordinate, select "Custom Coordinate" from the "Add Sub-Datum" menu, or double-tap the "Add Sub-Datum" button. This will bring up the "Add Custom Sub-Datum" dialog shown above.
The dialog is the same form as the "Edit Sub-Datum" dialog, described in the next section: change the name if desired, optionally add a note and a tag (worth doing while the layout is in front of you), select the units, and enter the coordinates. On a milling machine X and Y are required and Z can be left blank; on a lathe both X and Z are required. To add the point, press "Save Sub-Datum".
A stored coordinate is always the drawing's, never the readouts'. That only becomes visible with a part rotation or an axis alignment in force, when the two stop matching, and the dialog says so across the top while either one is. It is what lets you pre-program a part from the print and then machine it clamped at whatever angle it lands at.
The Edit Sub-Datum Dialog
Stored points are edited in the "Edit Sub-Datum" dialog, shown below. To open it, select a point in the sub-datum panel and press the panel's edit button. The dialog edits everything the row shows: the name, the note, the tag, and the coordinates.
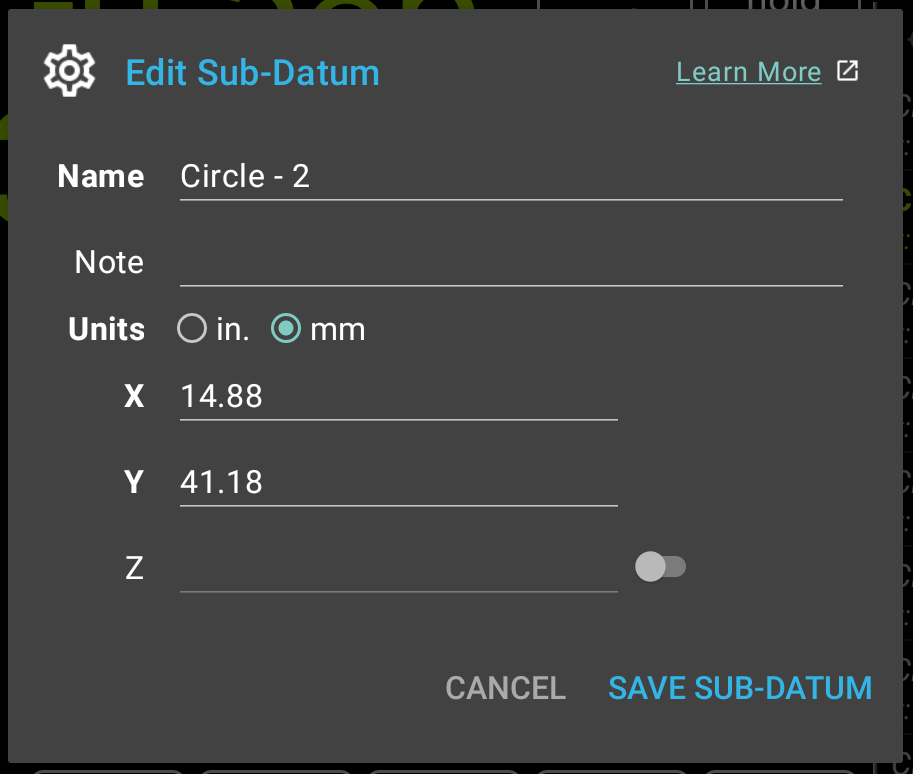
The "Tag" field sets or changes the point's tag; tags and the filtering they enable are covered in the "Sub-Datum Tags and Filtering" guide.
The "Units" selector sets the units the typed coordinates are read in, so a drawing dimensioned in inches can be entered as-is while the readout stays in millimeters. To fill a field from the machine instead of typing, press the sync button (the two-arrow icon) on that axis row, and TouchDRO will copy the current position of that axis into the field.
Each coordinate row in the dialog has an on/off toggle of its own, and at least one axis has to stay on. A point that carries a single axis is a guide line, so the toggles are what let a guide line be opened in this dialog, edited, and saved as a guide line.
Hole Pattern Functions
Standard DRO functions, such as Bolt Hole Circle, Hole Grid, etc. can be used to create predefined coordinate patterns. Follow the links below for detailed instructions for these functions:
Importing and Capturing Coordinates
Coordinates don't have to be entered by hand. In TouchDRO Plus, they can arrive in bulk or straight from the machine:
- A whole coordinate list can be imported from a CSV file built in a spreadsheet, as described in the "Importing and Exporting Sub-Datum Coordinates" guide
- The edge finder's "Add Sub-Datum" button saves probed edges, corners, and centers directly into the list; see the "Edge Finder (Indicate Workpiece) Function" guide
- Features of an imported CAD drawing can be captured as sub-datums; see the "CAD Drawing Import" guide